Adding an Extra Sides Button
When creating an Extra Sides button, you will follow the same steps as Adding a New Food Item.
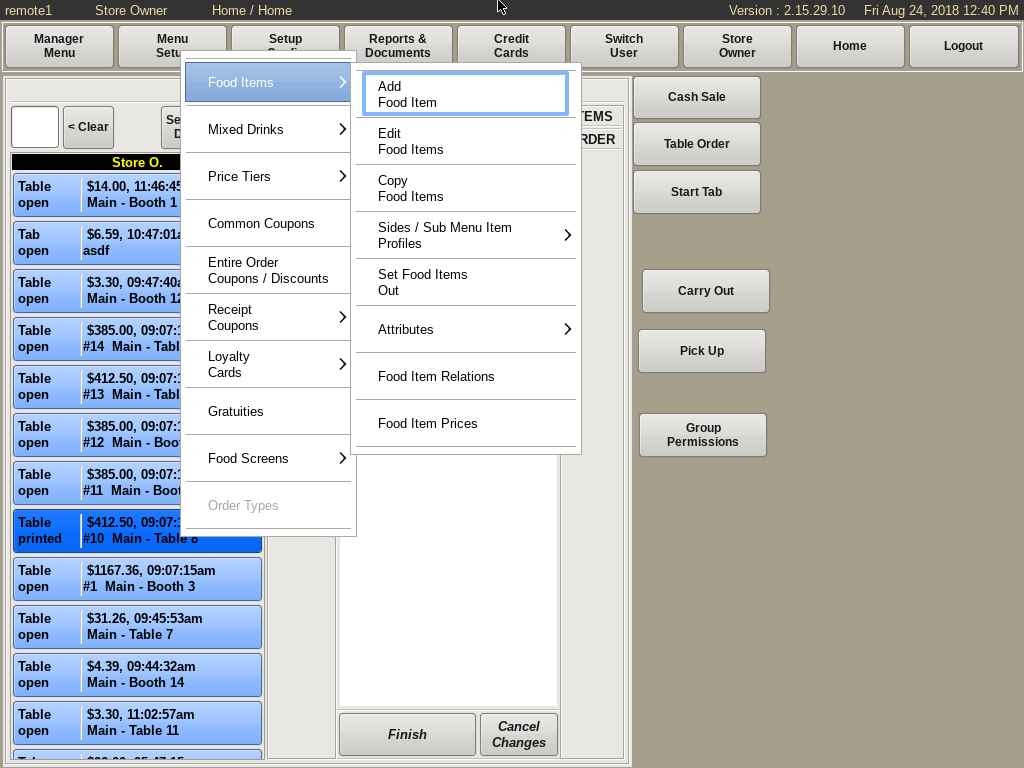
Select Menu Setup from the top bar of the home screen. Go to Food Items and select Add Food Item.
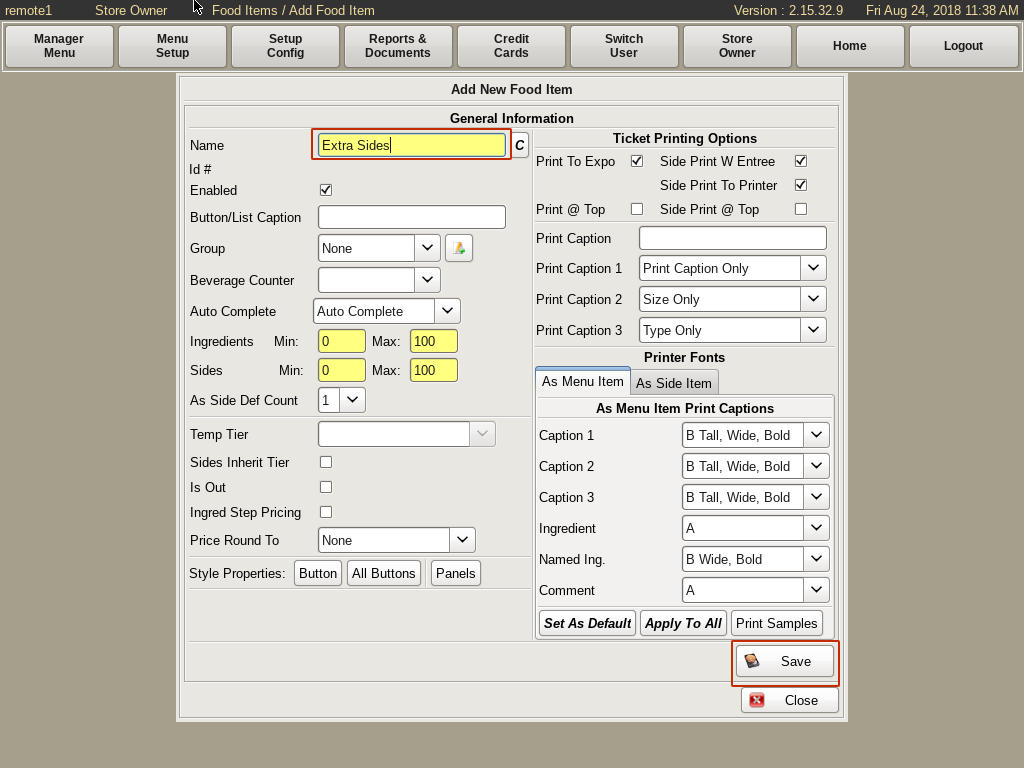
Enter Extra Sides in the Name field. Click Save.
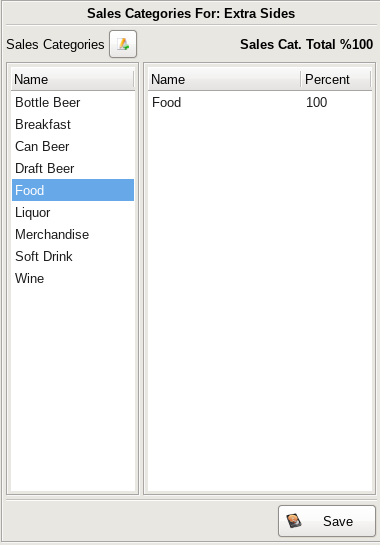
Select Food for the Sales Category, and click Save.
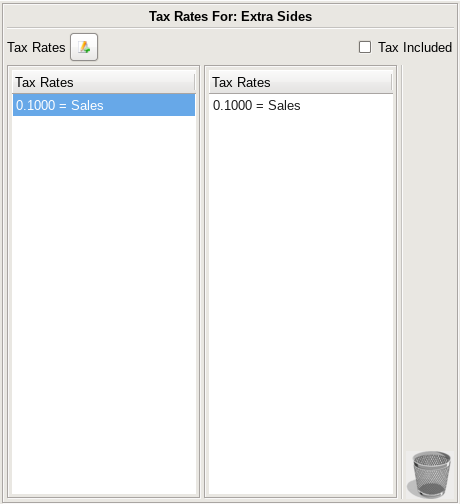
Choose the Sales Tax Rate and click Save.
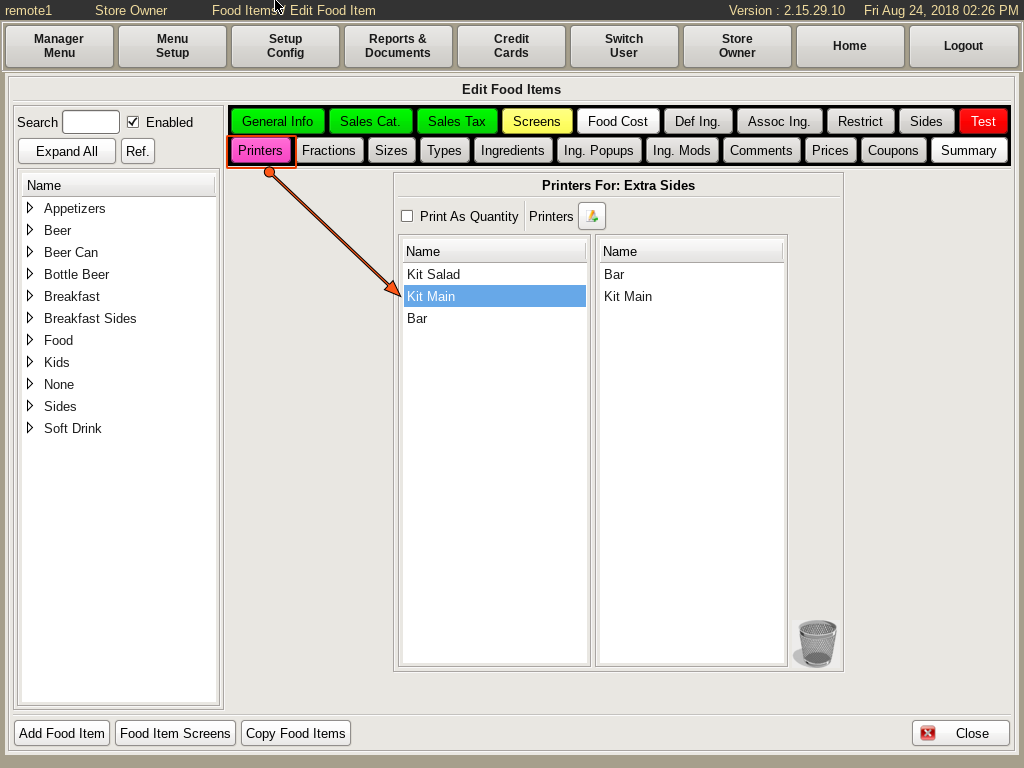
You will now be at the Edit Food Menu. Start by selecting the flashing purple Printers tab, and choose the printer you want.
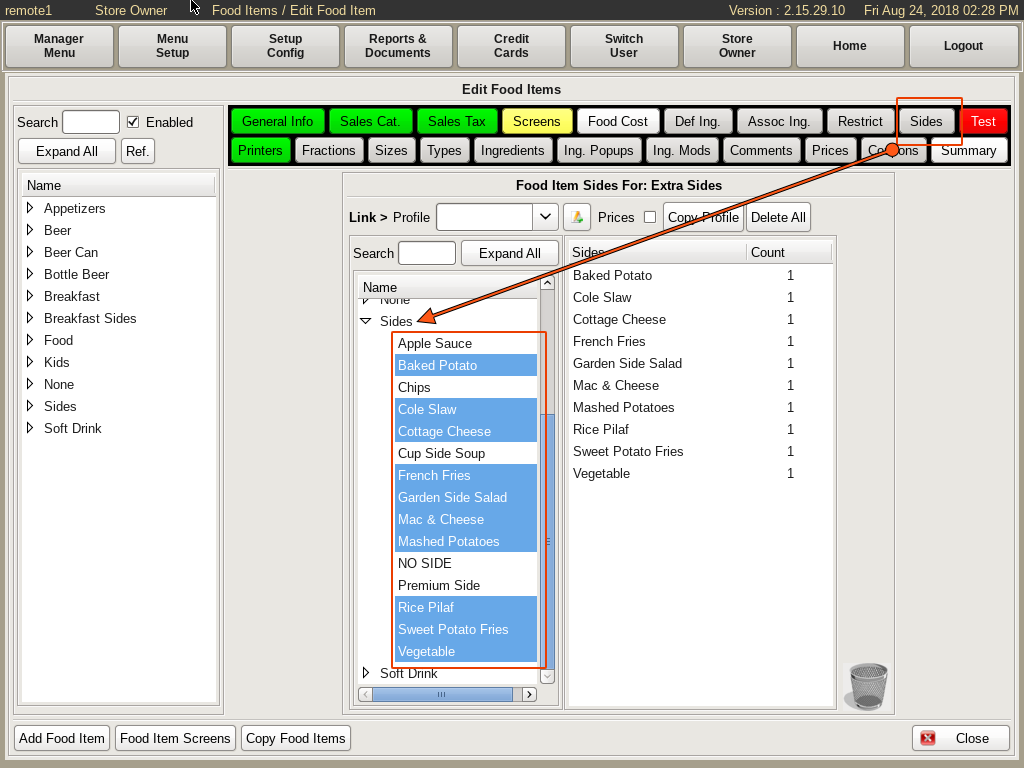
Select the Sides tab, and you will see a standard Two Column Lists. Drop down the Sides category and select all the sides you wish to have on the Extra Sides button.
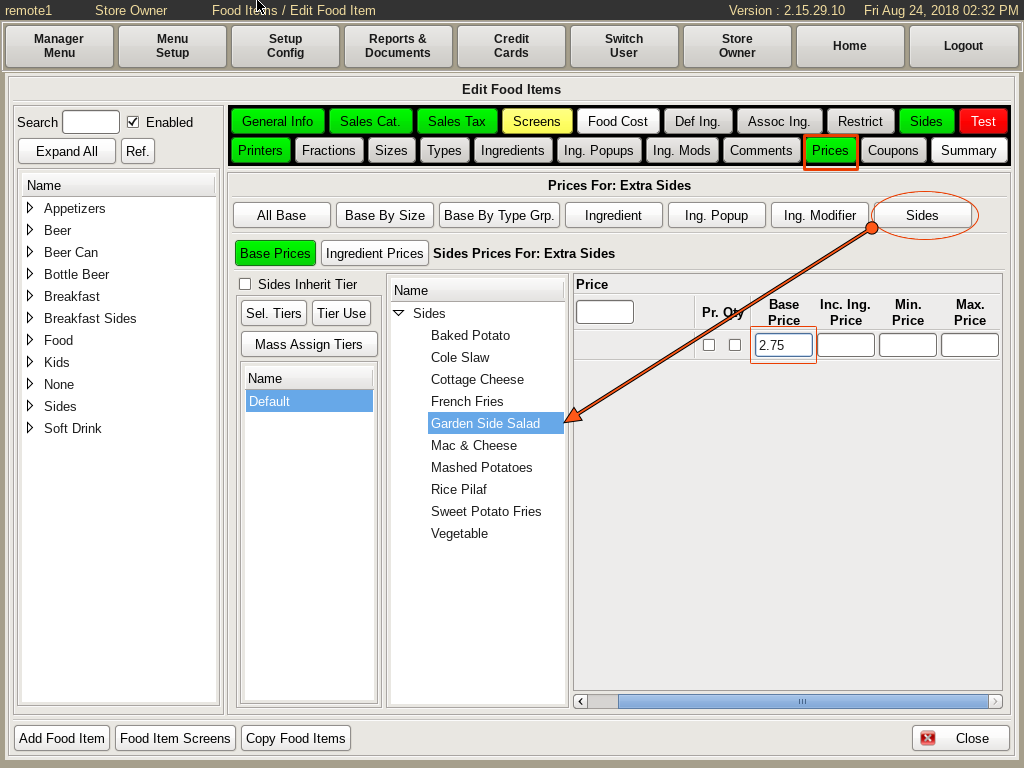
The prices of the Extra Sides will default to the original price that is set in the POS. If you wish to set a different price, select the Price tab, then choose Sides. Click on the sides you want, and under the Base Price field enter the new prices of the items.

Select the Screens button to go to the Set Attribute Screens.

Select the Menu Item Screens button on the top right to bring up the Set Menu Item Screens. Click on one of the menu screen tabs along the top where you want the button located. Search for the item Extra Sides on the right hand, and drag and drop it to the grid where you want it.