Creating Menu Item; Step 1
Food items can range from being as simple as a single button item, to having the option to choose sizes or types, or adding ingredients, popups, and modifiers. You can learn more about these functions here.
The following tutorials will walk you through adding a new food item; starting with a basic button and moving on to more complicated steps.
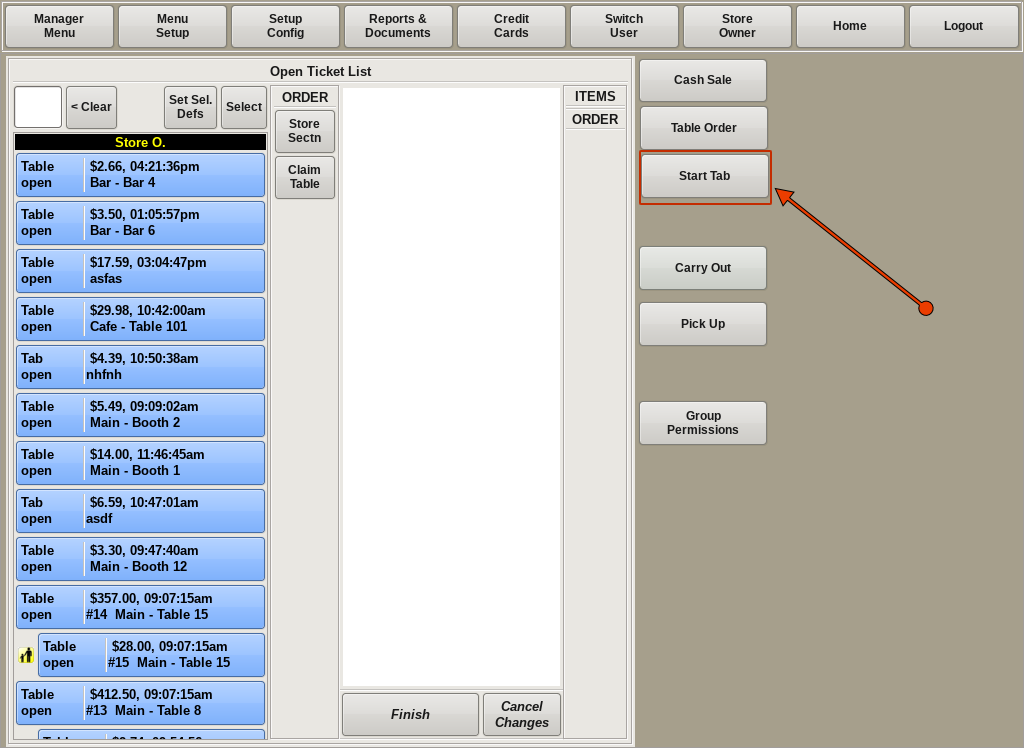
In this scenario, we are going to add Salad as a menu item. We will start with one Salad, with no size, type, dressing or other options.
Creating Menu Item - Salad
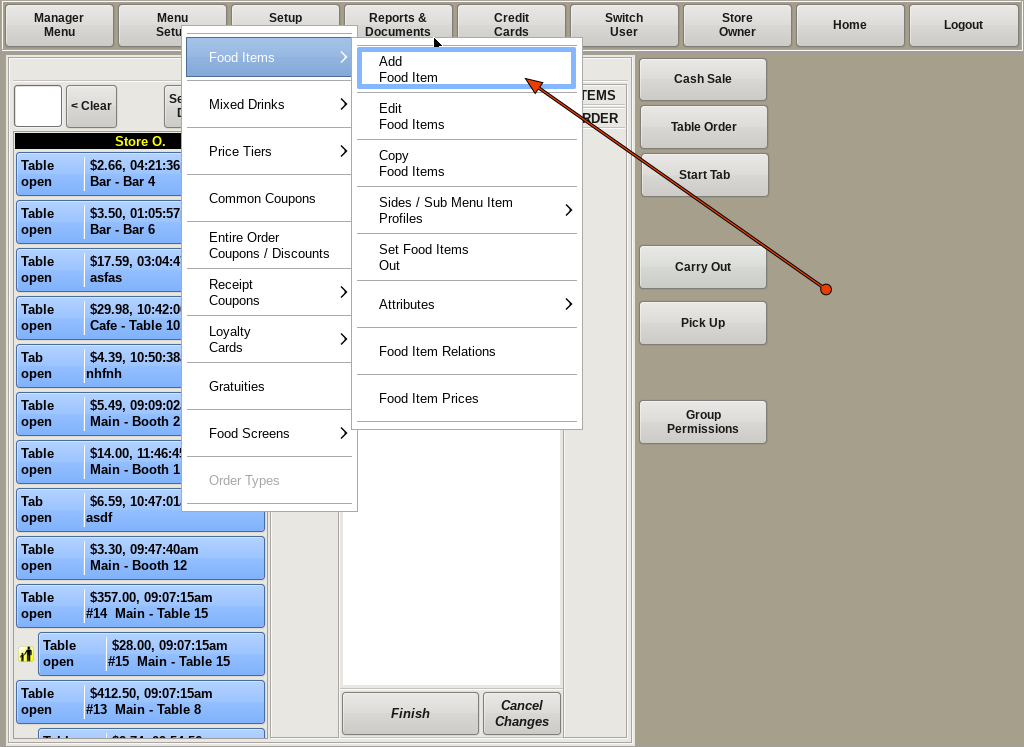
To add a new menu item, select Menu Setup from the top bar of the home screen.
Then go to Food Items and choose Add Food Item.
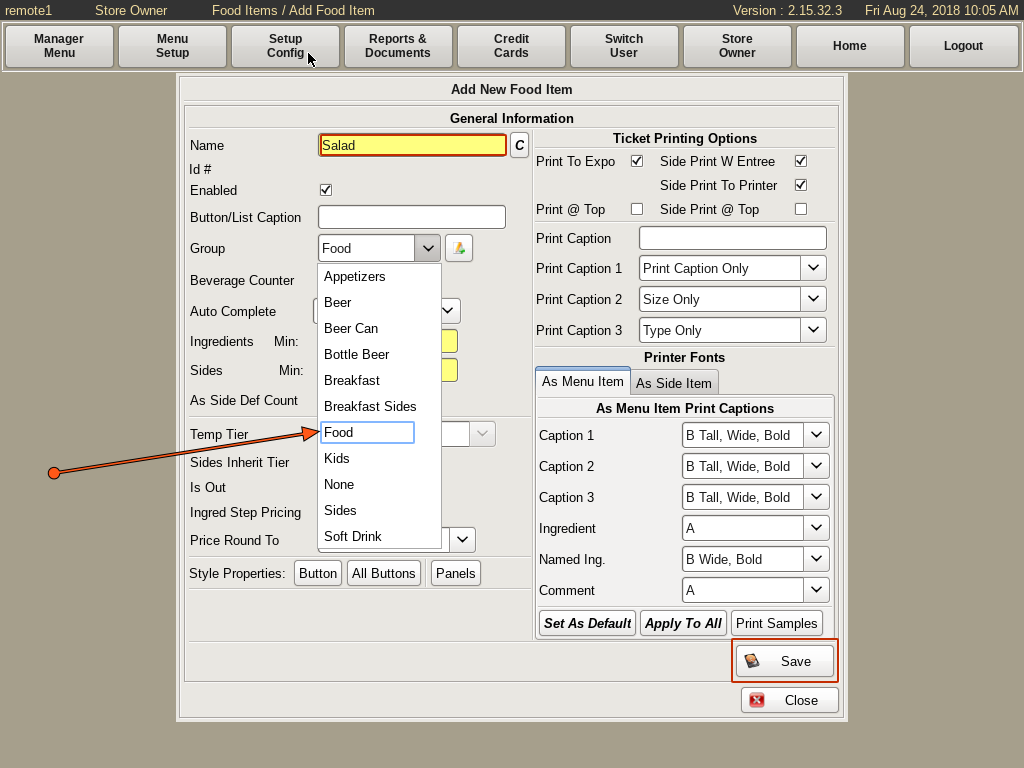
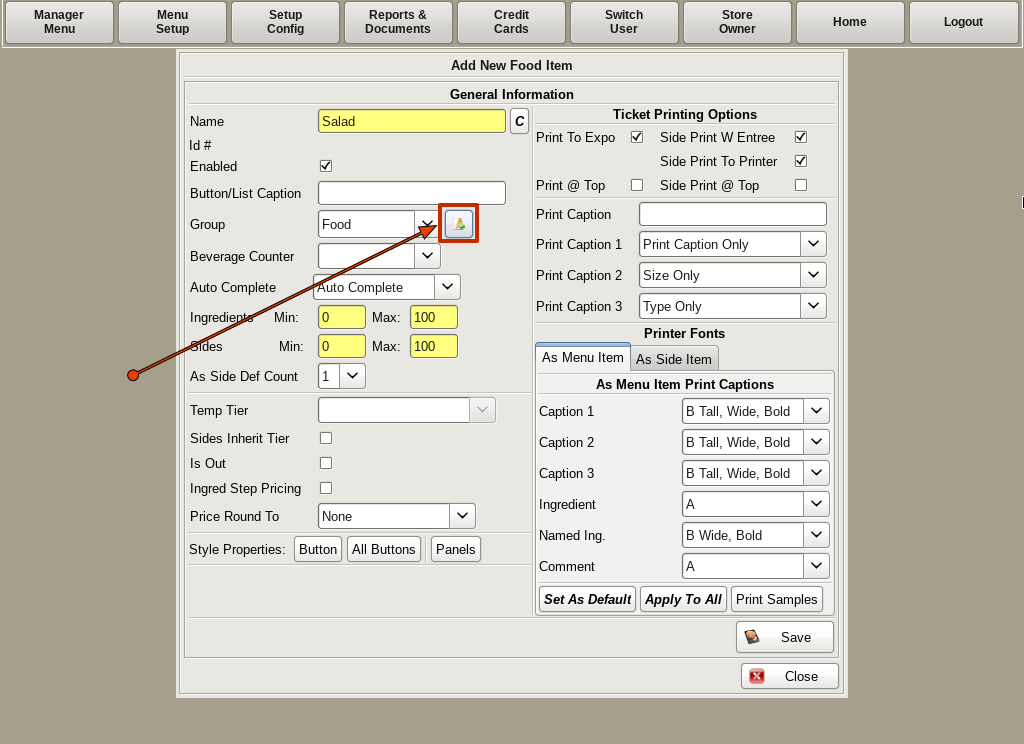
This will bring you to the General Information page. Here you will enter the Name of your food item in the yellow field, Salad.
Next, drop down the list next to Group. The group identifies what type of food item you are dealing with. For Salad, you would choose Food for the Group.
Click Save.
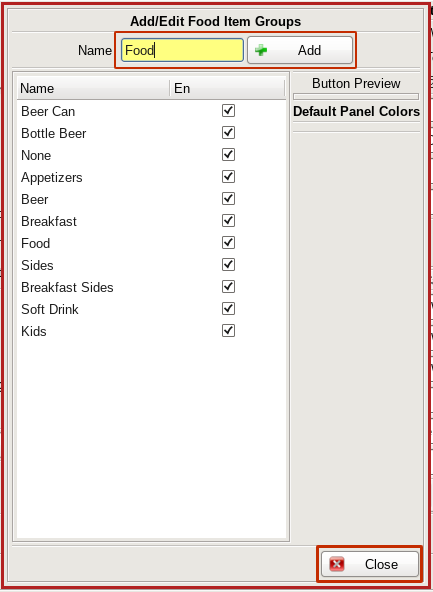
If the group you want is not listed, you can click the Add button next to the drop down to bring up the Add/Edit Food Item Groups window.
Simply type in the name of the group in the yellow field and click Add. You will now see it on the list. Click Close.
You can now find the group on the drop down. Select it and click Save
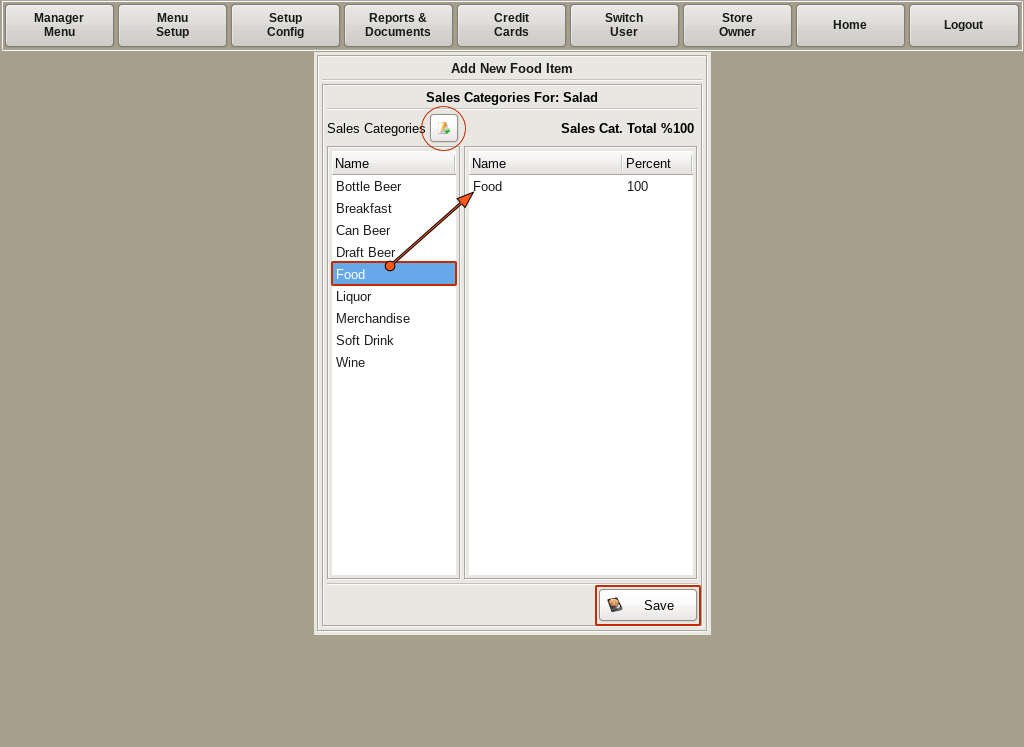
This will bring you to the Sales Categories page. Sales Categories are used to organize income generated by Menu Item sales in the POS for reporting. Often the sales category will correspond with the group an item is assigned to.
You will notice that this window has a standard two column list. You will find these on most edit menu item screens. The column on the left will include everything that the POS knows about; and the list on the right will show only what is associated with the particular food item you are dealing with.
To choose a Sales Category, simply click the category on the left that corresponds with your food item. In the case of the salad, we will choose Food.
When finished, click Save.
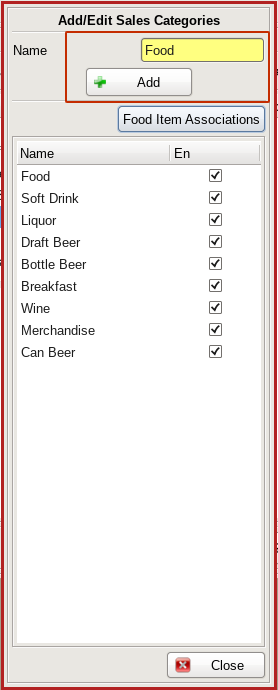
If you need to add a category, click the Add button, and type in the name of the category you wish to add, and click Add. You can then choose it from the list.
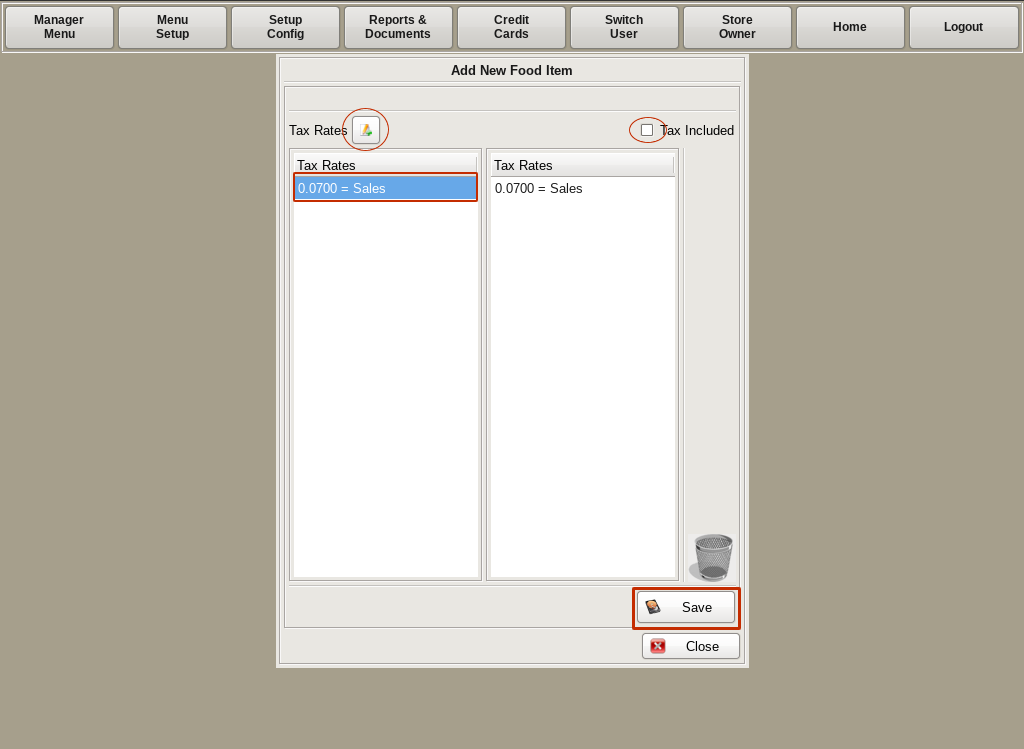

The next screen to work with is the Tax Rates page. Here you will choose the amount of sales tax that will be added to the food item by selecting the correct rate on the left.
If you need to add a new rate, click the Add button to enter the new information.
You can also click the Tax Included check box, if tax will be included in the listed price; such as with beer and liquor.
When finished, click Save.
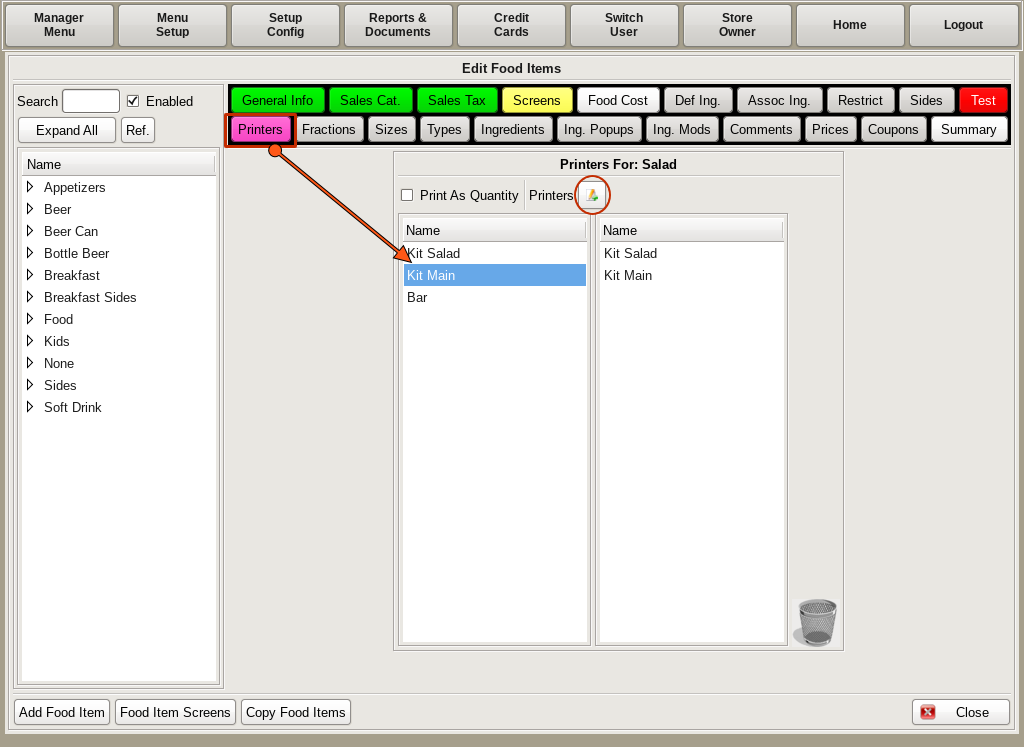
This will bring you to the Edit Food Items menu. In this window you can modify many aspects of a Food Item. As you work on a section, you will notice the tab of the sections you modify will turn green.
First, the Printers tab will be flashing purple. This is to remind you that a printer has not been set for this food item. Click the tab and select the printer name(s) on the left. You can add or edit printer names by clicking the Add/Edit button.
Note: This does not set up a printer, it only adds the name to the list and applies settings.
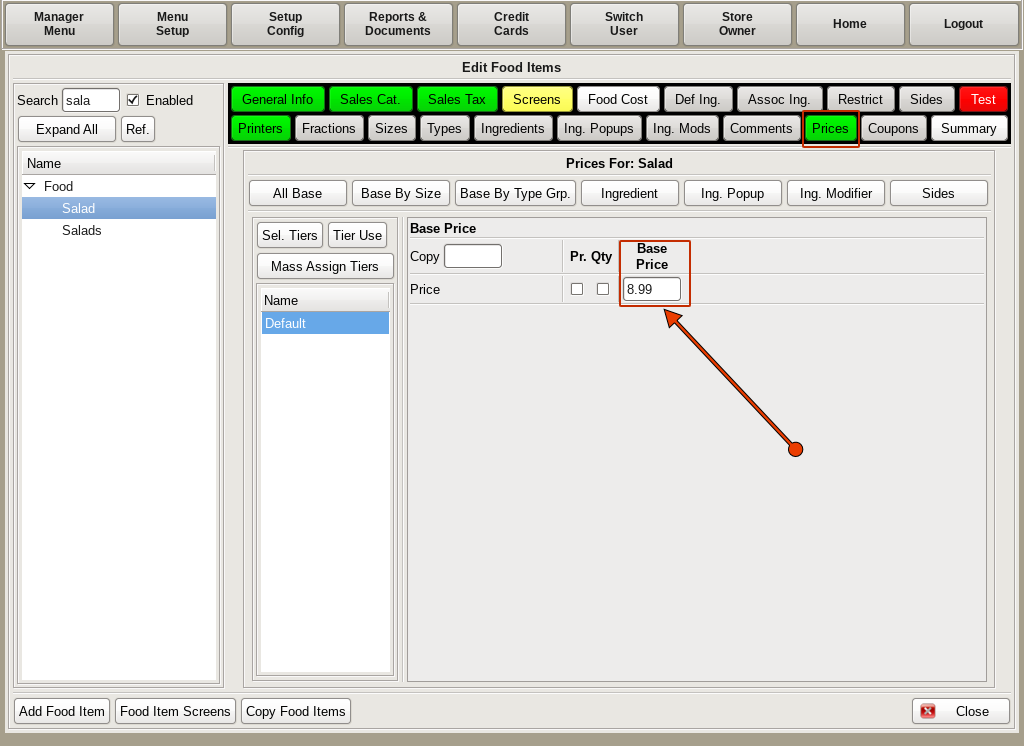
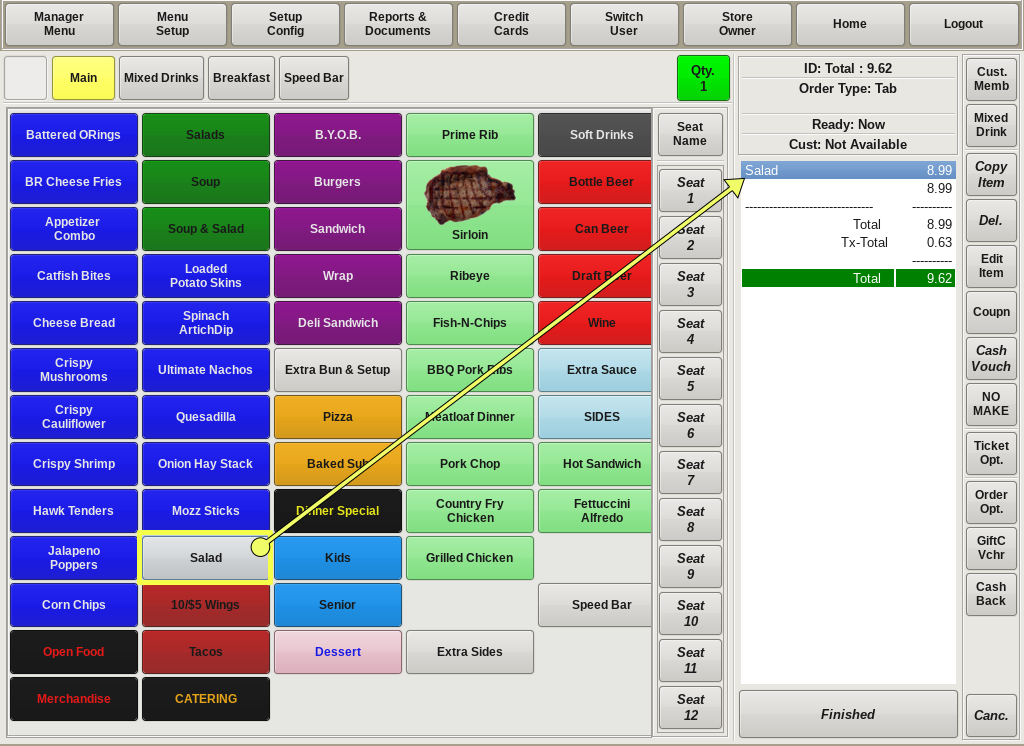
You will now need to add a Price to Salad. Click on the Price tab and in the Base Price field, enter the price of the Salad; i.e. 8.99
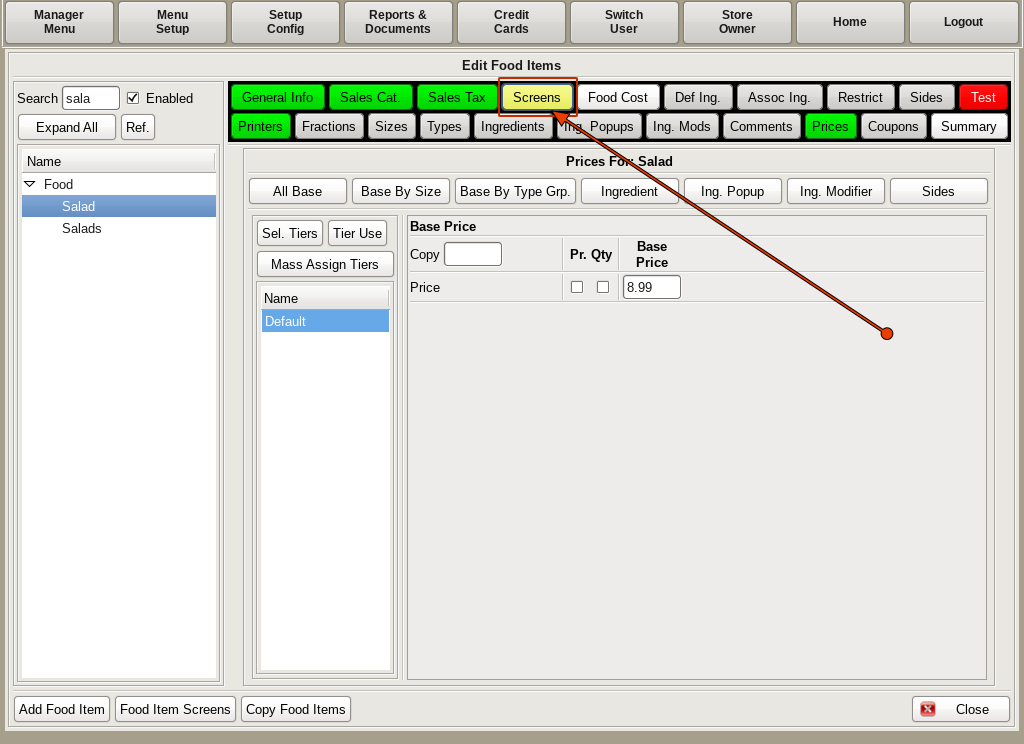
Now that we have the new menu item, you need a way to order it. you will do this by adding Salad to the Food Screen menu.
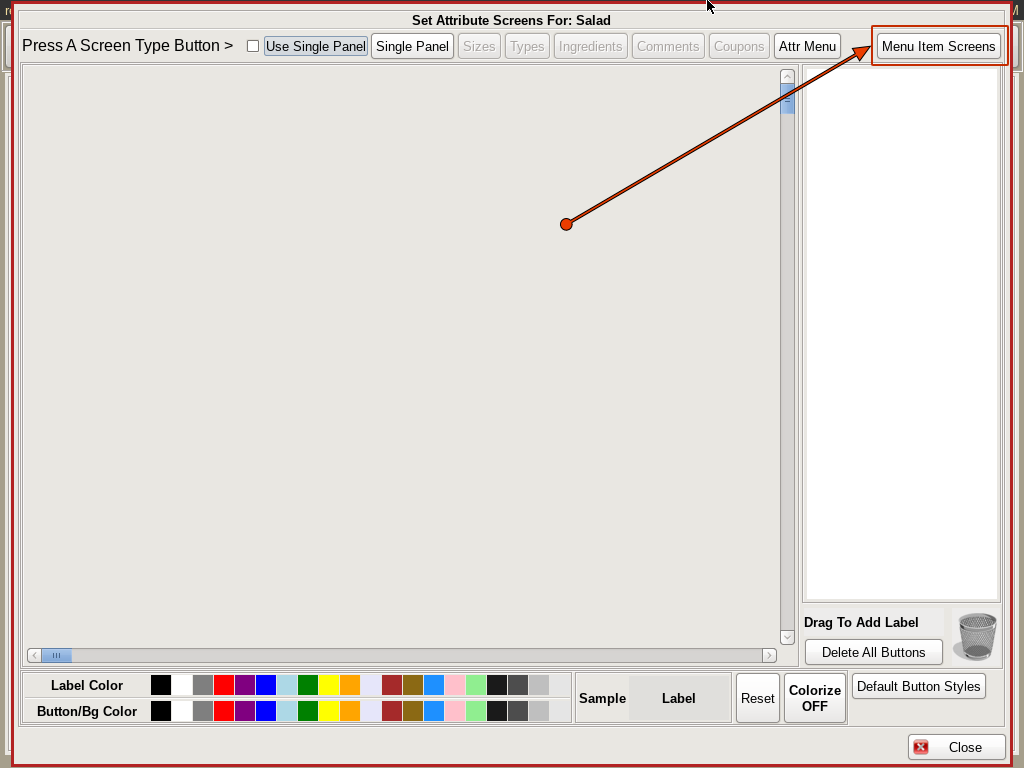
Start by clicking the Screens tab at the top. Then select the Menu Item Screens button on the right.
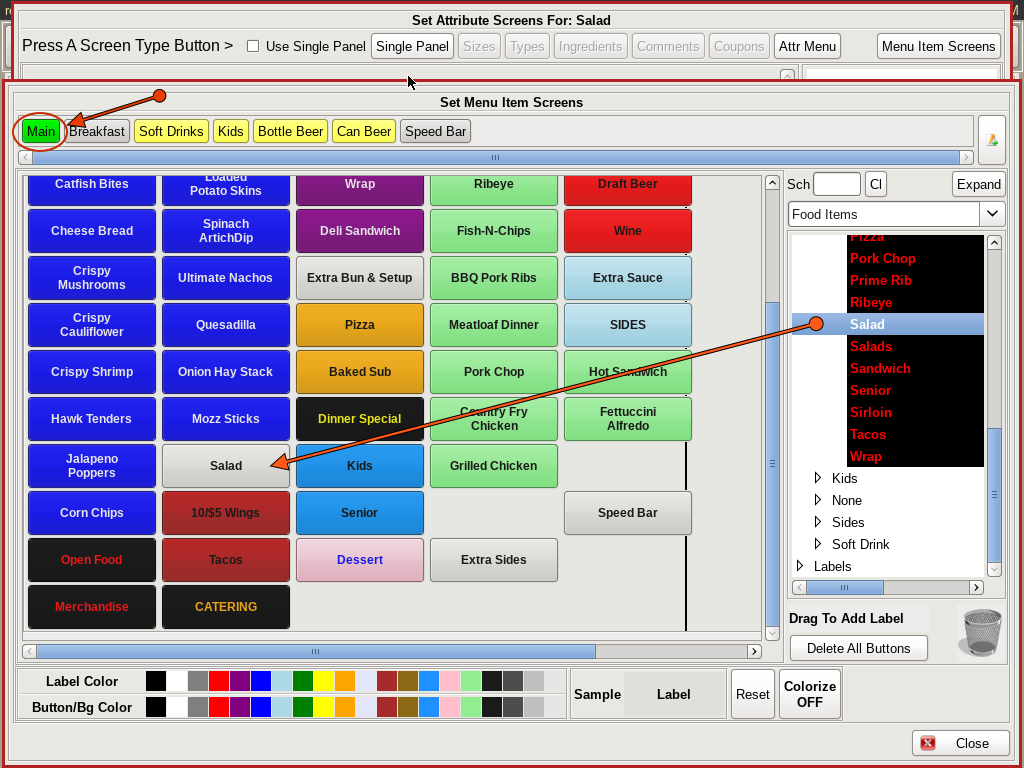
Choose which menu screen you want the Salad button on; such as Main.
Search for Salad on the right hand side, and drag and drop it to the grid on the left where you want your button located.
When finished, click Close on all screens to get back to the Home Screen.