Edit Menu Items Attributes
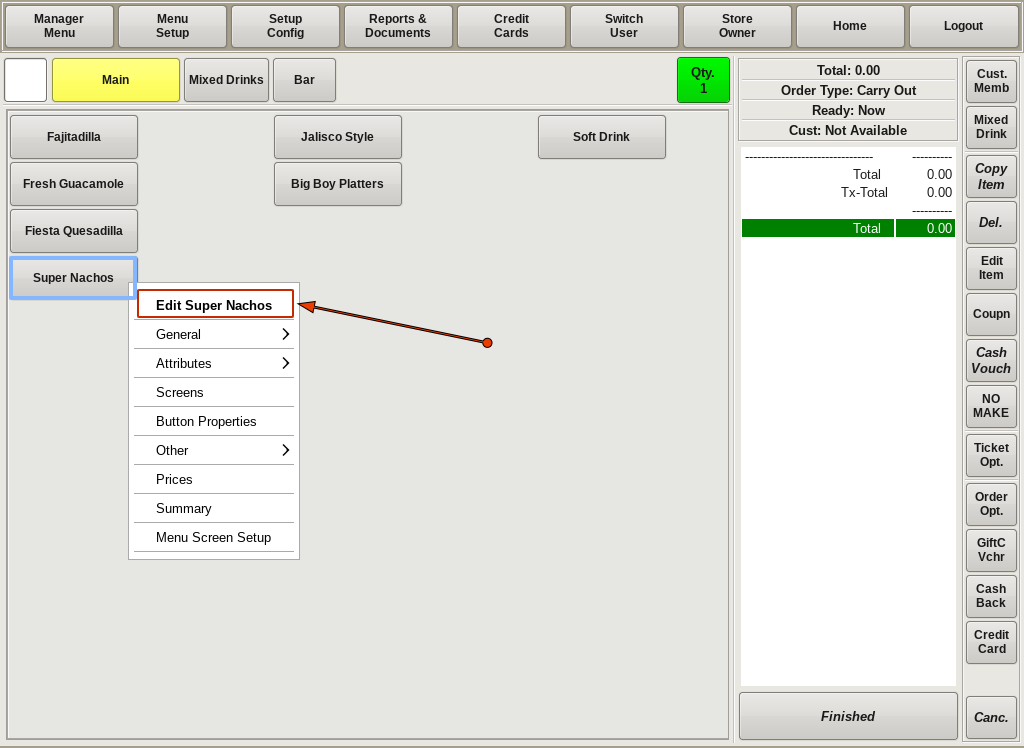
You can edit any attribute of a food item by right-clicking on the menu item button. By right-clicking, a menu will appear on your screen next to the menu button.
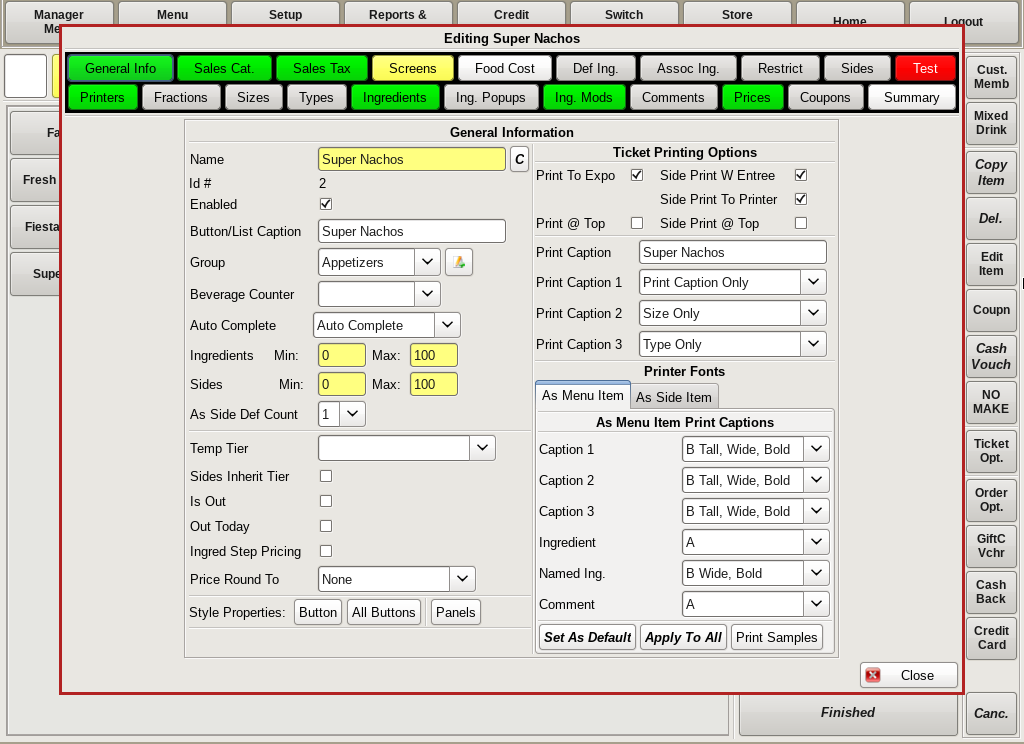
The first bolded option on the list is (in this example) Edit Super Nachos. By choosing this option, you will open the Editing Super Nachos menu. Here you can click on a tab to change many attributes of the Super Nachos.
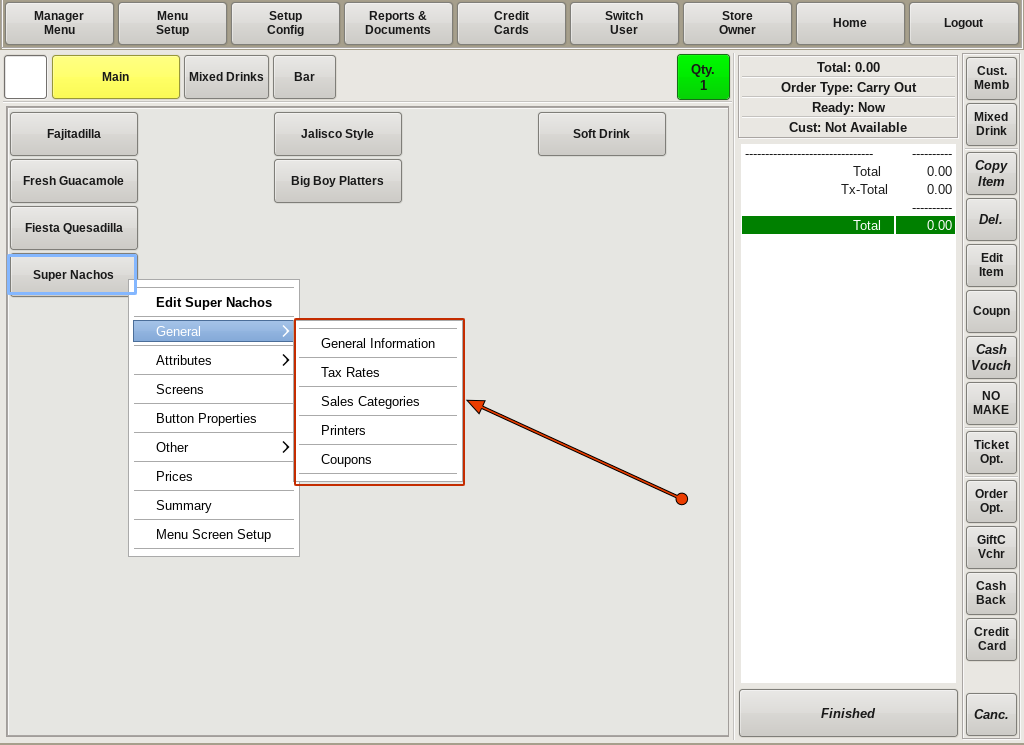
Under the bold Edit Super Nacho option, there is a list of other attribute options to choose from. Choosing any other option from the list will open a window with only that attribute to edit.
Under the General option, you can choose General Information, Tax Rates, Sales Categories, Printers or Coupons.
General Information: This allows you to edit information such as the Name of the food item, or the Button Name (the name that appears on the button itself), what food group it is under, etc.
Tax Rates: This allows you to change the tax rate the food item is applied to.
Sales Categories: This allows you to change the Sales Categories for your food item.
Printers: This allows you to change which printer you want the food item ticket to print to.
Coupons: This will open up the coupon window for you to apply or create coupons for this food item.
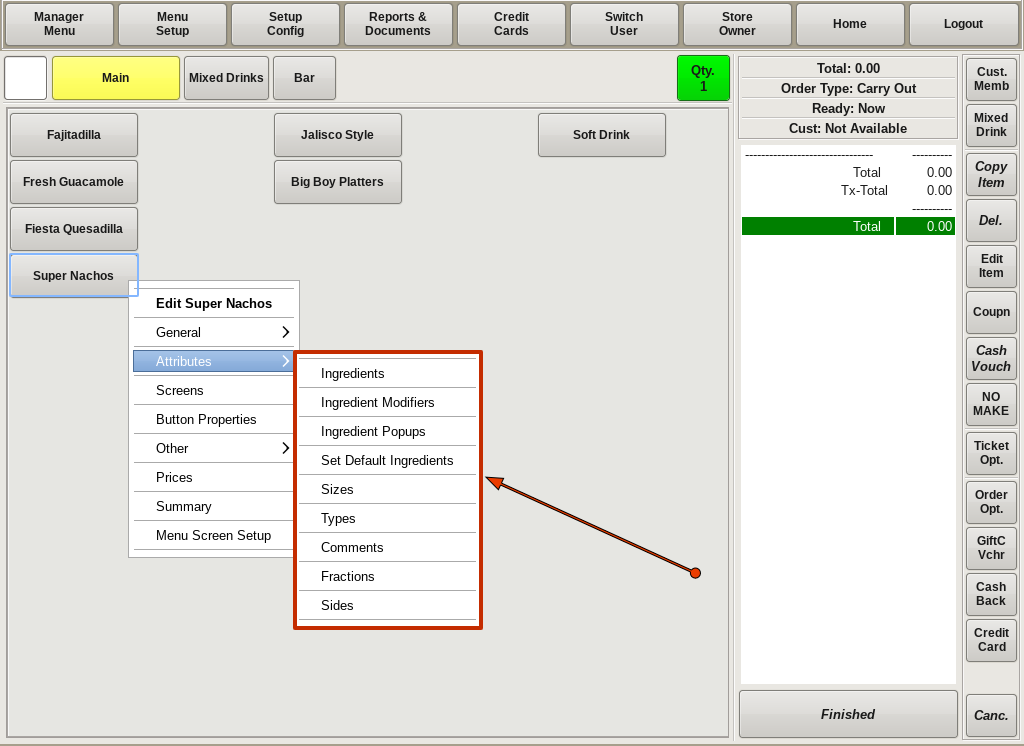
The next menu option is Attributes. Under Attributes you can edit the Ingredients, Ingredient Modifiers, Ingredient Popups, Set Default Ingredients, Sizes, Types, Comments, Fractions and Sides.
Ingredients: This window will allow you to add, edit and/or delete ingredients that are associated with this food item.
Ingredient Modifiers: This window allows you to add, edit or delete any ingredient modifiers for this food item; i.e. No, Lite, On Side.
Ingredient Popups: This window allows you to add, edit or delete any Popup menus applied to the food item.
Set Default Ingredients:
Sizes: Here you can add, edit and delete any Sizes associated with the food item.
Types: Here you can add, edit and delete any Types associated with the food item.
Comments: Here you can add, edit or delete and Comments that are applied to the food item.
Fractions: On this window, you can add or delete any Fractions that are applied to the food item.
Sides: Here you can add, edit or delete any Side items that are associated with your food item.
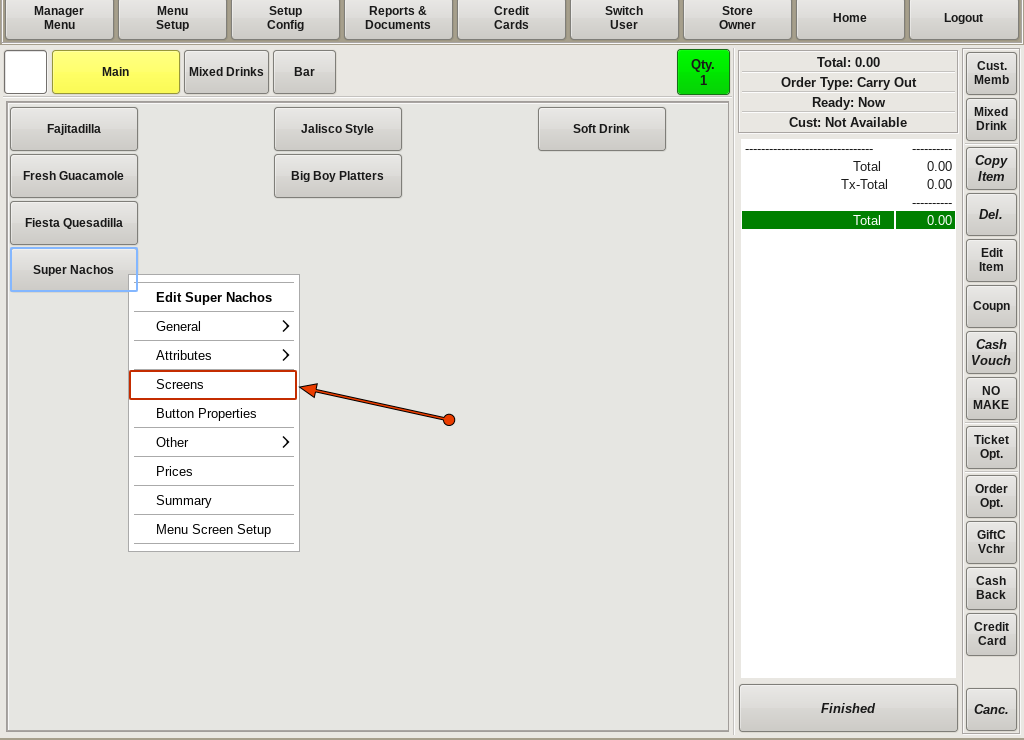
The next menu option you will see is Screens. Clicking this will open up the Set Attributes Screen for your food item. Here you can add button options for the ingredients/sizes/types etc associated with your food item.
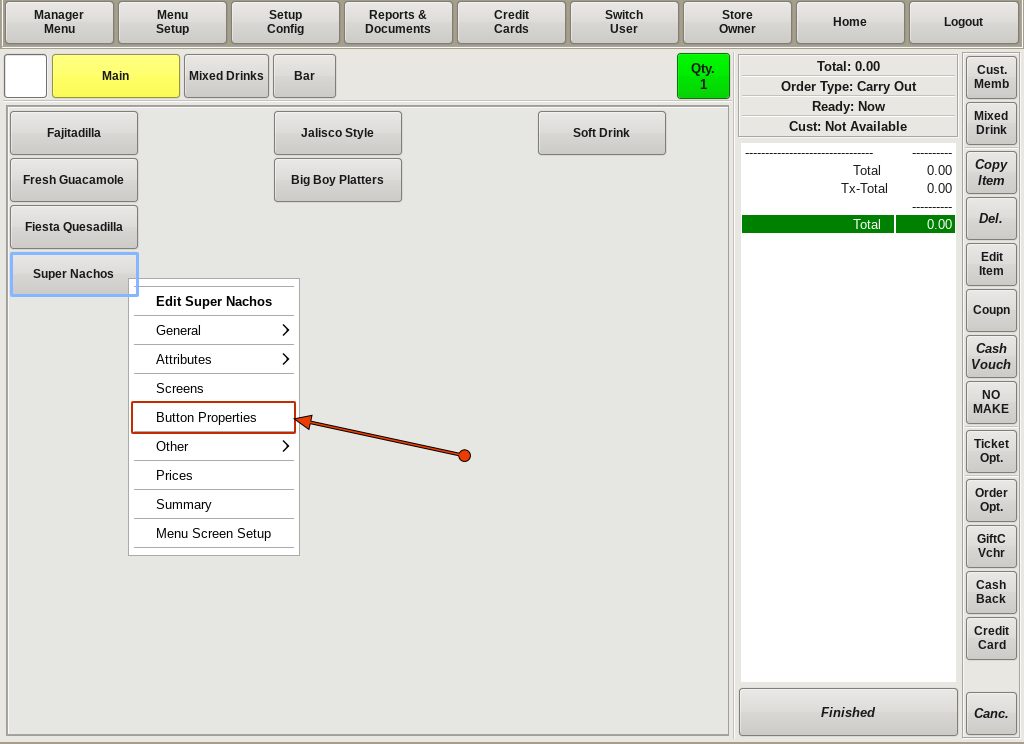
By clicking the Button Properties option, you will open the Set Button Style menu. Here you will be able to edit the size of the button; the button caption; the font size and style; or the color of the button and label.
You can also choose to add or delete images to your button. For example, you can search the images for a plate of nachos to add to your Super Nachos button.
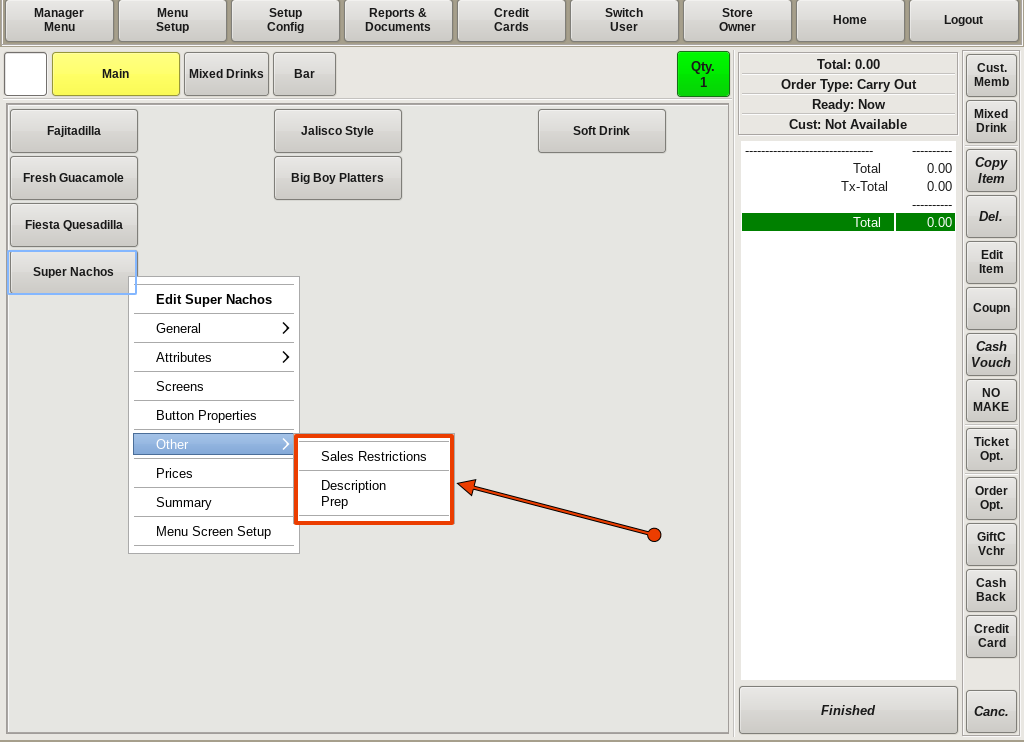
The next menu option you will see is Other. Selecting Other, you will see Sales Restrictions and Description Prep on the sub-menu.
Sales Restrictions: Sales Restrictions allows you set specific days and times when a food can or cannot be sold. For example, let’s say Super Nachos is a Sunday only food item during “Happy Hour”. You can set Sales Restrictions to specify that Super Nachos will only be allowed to be sold on Sundays from 4pm-8pm (or whatever time the Happy Hour happens to be).
Description Prep: This window allows you to set Food Item Descriptions and Preparation Instructions for your food item.
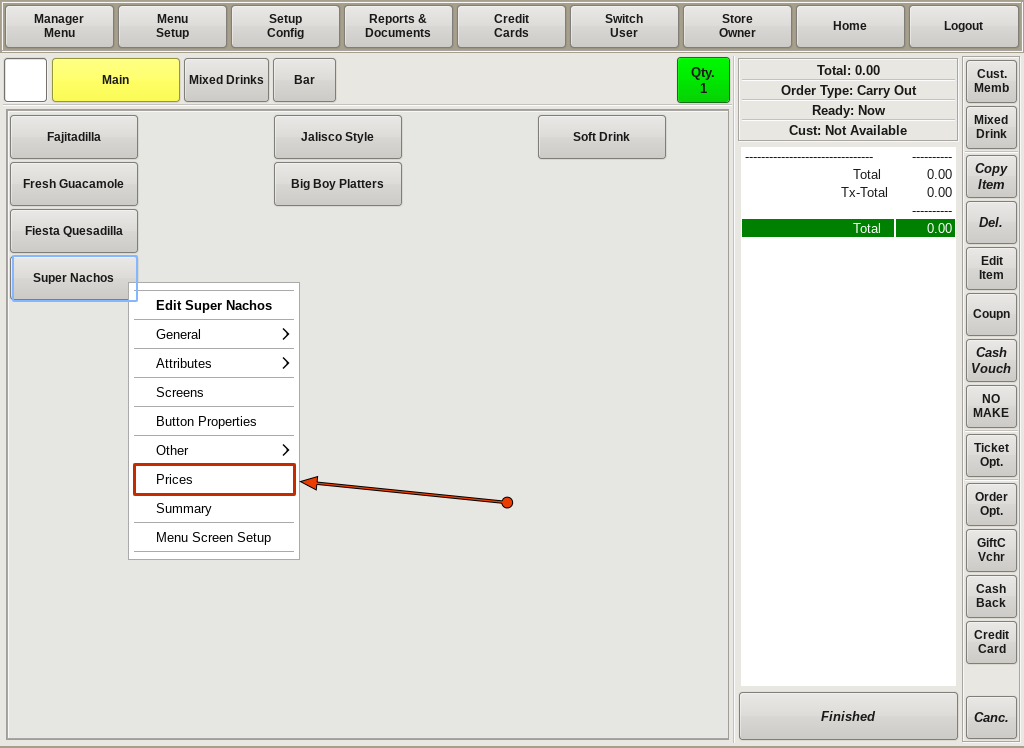
Clicking on the Prices option, allows you to edit the prices associated with your food item. Here, you can edit the base price, any additional ingredient prices (for example, if you want to charge 50 cents for jalapeños), modifier prices, and sides prices.
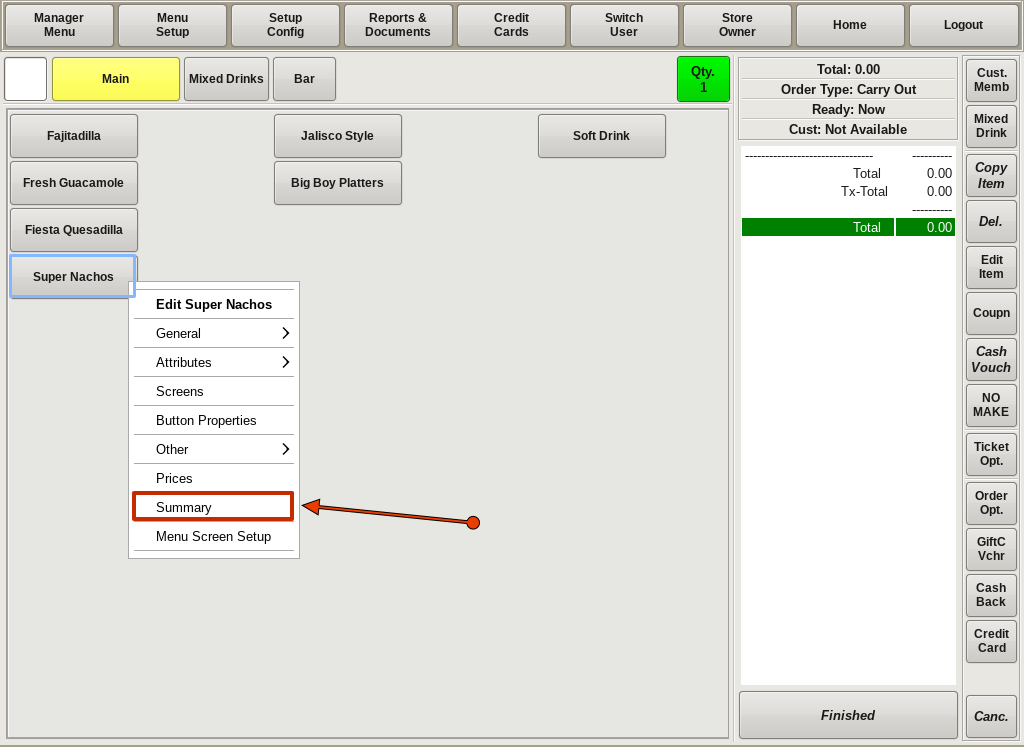
The Summary option will open a printable summary of the food item. It will show all attributes of the menu item in a printable list.
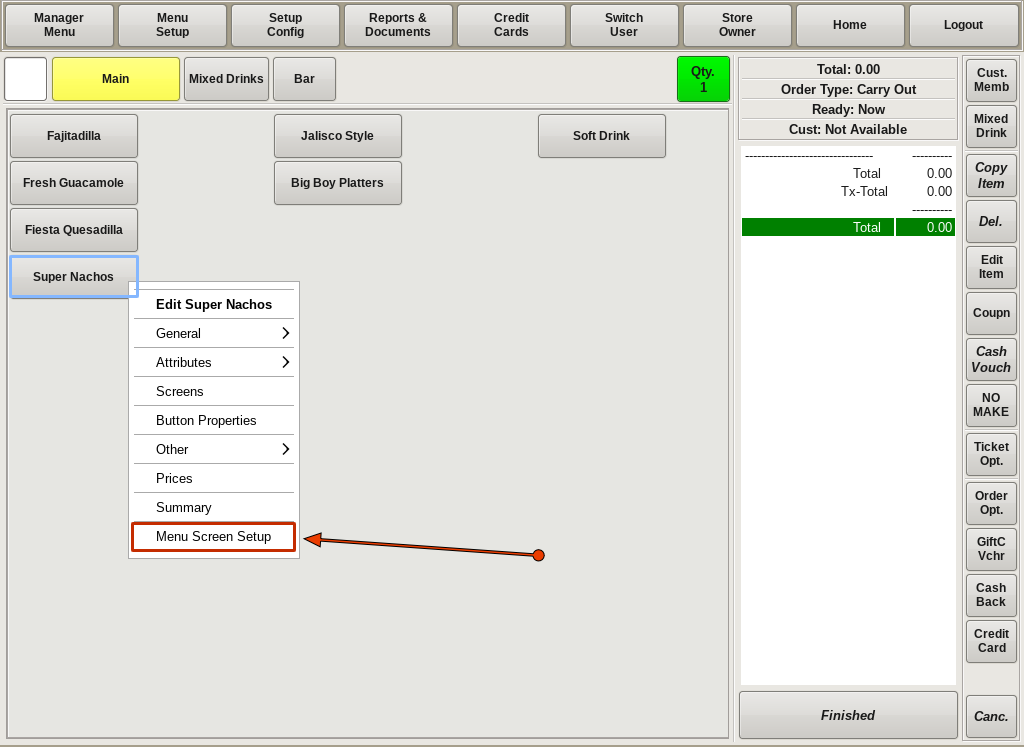
The last option is Menu Screen Setup. Choosing this option will open the Menu Screen for you to edit. Here, you can add or delete buttons from the menu screen, you can rearrange where you want the buttons located, or you can change color of the buttons.